How to Match Shoppers to Products That Fit Them: A Smart Profile Guide
Build a Profily matching rule step by step: profile fields, badge type, AND/OR conditions, target products and testing, with a pet-store example.
 Luke Tran
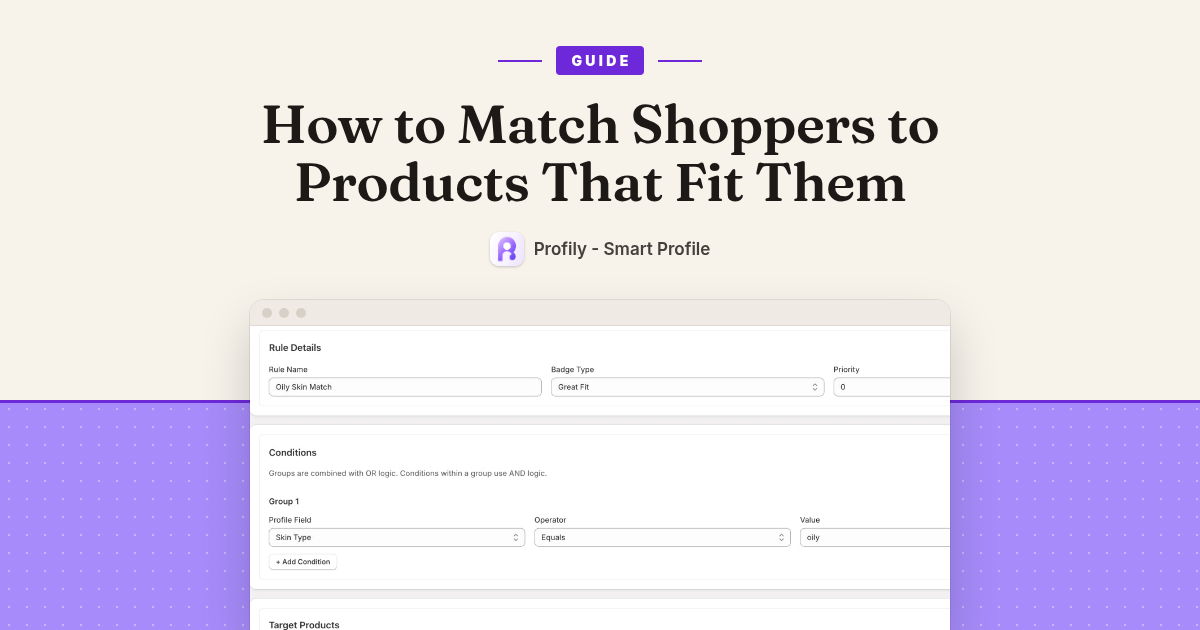
Profily badges can tell a shopper “this is a great fit for you” right on the product page. But a badge is only as smart as the rule behind it. If the rule is vague, the badge shows up in the wrong places and shoppers stop trusting it.
This guide walks through building one matching rule from start to finish, the same way you would in the Profily dashboard. We’ll use a pet store as the example, but the steps are the same for baby and kids clothing, skincare, or any store where “will this suit me?” is the question that stops a sale.
Step 1: Ask questions that have clear answers
Everything starts with your profile fields. These are the questions that appear in the profile form on your storefront, and the answers are what your rules match against. In Profily you manage them under your profile fields: each one has a label, a type, its answer options, and switches for Required and Enabled.
The most useful tip here comes straight from the dashboard: Select and Multi-Select fields are the most useful in rule conditions, because their answers are predictable. “Senior” is easy to match. A free-text answer like “he’s about 9 I think” is not.
For our pet store, two fields are enough to start:
- Life stage (Select): puppy, adult, senior
- Size (Select): small, medium, large
A few more things worth getting right at this step:
- Use descriptive field keys. Rules refer to them, so “life_stage” beats “field_2”.
- Only mark a field Required if your matches depend on it. Every extra required question is one more reason to close the form.
- Start from your industry preset. Preset fields can be disabled if you don’t need them, but not deleted, so switch off what doesn’t apply to your catalog instead of fighting it.
Step 2: Name the rule and pick its badge
Now create a rule. The Rule Details section has three settings:
- Rule Name. Describe the match, like “Senior large dog match”.
- Badge Type. What the shopper sees when the rule matches, for example “Great Fit”.
- Priority. This becomes useful once more than one rule touches the same products, so you can keep your most important match on top.
Step 3: Write the conditions (AND inside a group, OR between groups)
Conditions are where most of the thinking happens, and there’s one line in the Conditions section worth remembering: groups are combined with OR logic, and conditions within a group use AND logic.
Each condition has three parts: a profile field, an operator (such as Equals) and a value. So for a joint-care supplement made for bigger, older dogs, Group 1 might be:
- Life stage equals senior
- AND Size equals large
Both have to be true. A senior Chihuahua won’t match, and neither will a large puppy. If the supplement also suits senior medium-sized dogs, don’t loosen Group 1. Click Add Condition Group and create Group 2 (Life stage equals senior AND Size equals medium). The rule now matches when either group is true.
Step 4: Choose the target products
Next, tell the rule which products it applies to. Under Target Products you choose what the rule applies to, for example specific collections, and select them. Profily’s matching engine can also map profile answers to product tags, product types or metafields, so use whatever your catalog is already organized by.
Keep the target tight. A badge on the wrong product does more harm than no badge at all.
Step 5: Test the rule before shoppers see it
Don’t skip this one. The Test This Rule panel lets you enter sample profile answers and shows whether the rule would match. The result updates in real time as you change the values.
Run three quick checks:
- A profile that should match (senior, large). It should say the rule matches.
- A profile that should not match (puppy, large). It shouldn’t.
- An edge case (senior, medium). Does it match the way you planned once Group 2 is in place?
Then fill in a profile yourself on your storefront and look at a product page and a collection page. Badges appear on product cards and product pages, so check both.
Step 6: Think about households, not just shoppers
One customer often shops for more than one pet, child or family member. Profily’s multi-profile selector lets customers keep several profiles and switch between them, and the badges and recommendations follow whichever profile is active. That means your rules should work for every profile type you expect, not just the first one a customer creates. On the Basic plan customers can keep up to 3 profiles each; on Pro, there’s no limit.
Step 7: Check your dashboard after a week
Once your rules are live, the Overview in Profily gives you a quick read on how they’re doing:
- Profile adoption: how many customers have created profiles, and how many are active.
- Rule coverage: how many of your rules are active and matching profiles to products.
- Engagement: storefront events this week and this month.
- Conversion: how often customers who create a profile go on to click a recommendation.
If profiles are being created but clicks stay low, revisit Step 3 and Step 4: the rules may be too loose or pointing at the wrong products. If few people create a profile at all, go back to Step 1 and make the form shorter.
Start with one rule
Pick your best-selling product where fit matters most, build one rule for it, test it, and let it run. Then add the next one.
Profily works with Online Store 2.0 themes, needs no coding, and takes less than five minutes to get up and running. Plans start at $9.99/month, with a 7-day free trial.
Try Profily – Smart Profile free for 7 days on the Shopify App Store


